Ingredients
Scale
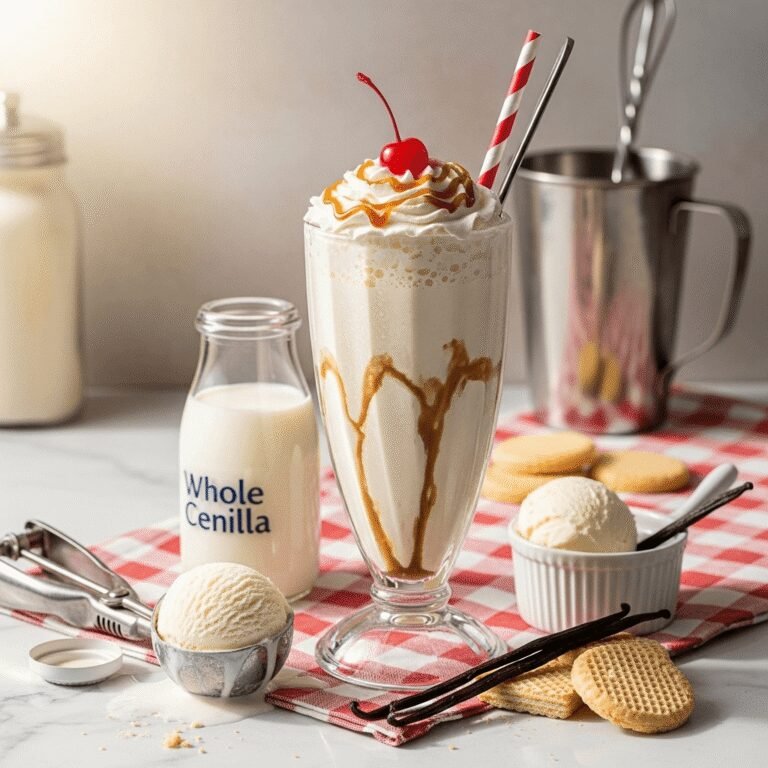
- 3 cups premium vanilla ice cream (about 6-8 scoops, softened slightly)
- ¾ cup whole milk (adjust for desired thickness)
- 1 teaspoon pure vanilla extract
- 1-2 teaspoons granulated sugar (optional, to taste)
- Pinch of salt (optional, enhances flavor)
For Serving (Optional):
- Whipped cream
- Maraschino cherry
- Chocolate or caramel drizzle
- Vanilla wafer cookies or straws
Instructions
- Let Ice Cream Soften Slightly – Remove your vanilla ice cream from the freezer and let it sit at room temperature for 3-5 minutes. It should be scoopable but not melted – soft enough to blend easily but still frozen. This step is crucial for achieving the perfect creamy texture without overworking your blender.
- Add Ingredients to Blender – Place the slightly softened vanilla ice cream scoops into your blender first, followed by the whole milk, pure vanilla extract, and a pinch of salt if using. Starting with ice cream at the bottom helps it blend more evenly. Don’t add sugar yet – you’ll taste and adjust after blending.
- Start Blending on Low – Secure the blender lid and start on the lowest speed setting. Let it run for about 10-15 seconds to break down the ice cream and begin incorporating the milk. This prevents ice cream chunks from flying around and ensures even blending.
- Increase to Medium Speed – Once the mixture starts moving, increase to medium speed. Blend for 20-30 seconds, using the blender’s tamper if you have one to push ingredients toward the blades. Stop and scrape down the sides with a spatula if needed. The goal is a smooth, uniform consistency.
- Check Consistency – Stop the blender and check the thickness. Your milkshake should be thick enough that it slowly drips off a spoon but still pourable. If it’s too thick and the blender is struggling, add 2-3 tablespoons more milk and blend briefly. If it’s too thin, add 1-2 more scoops of ice cream and blend again.
- Taste and Adjust – This is important! Give your shake a taste. If it needs more sweetness, add 1-2 teaspoons of sugar and blend for 10 seconds. If you want a stronger vanilla flavor, add another ¼ teaspoon of vanilla extract. Remember, you can always add more but can’t take it away!
- Blend for Final Smoothness – Give it one final 10-15 second blend on medium-high to ensure everything is perfectly smooth and creamy with no ice cream chunks remaining. The shake should be velvety and uniform.
- Serve Immediately – Pour the milkshake into tall, chilled glasses (putting glasses in the freezer for 10 minutes beforehand keeps shakes colder longer). Pour slowly to avoid creating too many air bubbles. Top with whipped cream, a cherry, or any other toppings you love. Serve with a thick straw or spoon and enjoy immediately while it’s perfectly cold and thick!
Notes
- Ice Cream Temperature: Don’t let ice cream get too soft or melted, or your shake will be thin and watery. It should still be quite firm but scoopable.
- Milk Amount: Start with less milk than you think you need. It’s much easier to thin a shake than to thicken it. Begin with ½ cup and add more as needed.
- Thickness Control: For a thicker shake, use less milk or add more ice cream. For a thinner shake, add more milk gradually.
- Blending Time: Don’t over-blend! This warms up the shake and can make it thin and frothy. Blend just until smooth.
- Serving Size: This recipe makes 2 generous servings. Double or triple as needed for parties or large families.
- Prep Time: 5 minutes
- Cook Time: 0 minutes
- Category: Beverage
- Method: Blending
- Cuisine: American
- Diet: Gluten Free
Nutrition
- Serving Size: 1 milkshake (approximately 12 oz)
- Calories: 420
- Sugar: 48g
- Sodium: 180mg
- Fat: 20g
- Saturated Fat: 12g
- Unsaturated Fat: 6g
- Trans Fat: 0g
- Carbohydrates: 52g
- Fiber: 0g
- Protein: 9g
- Cholesterol: 75mg