Ingredients
Scale
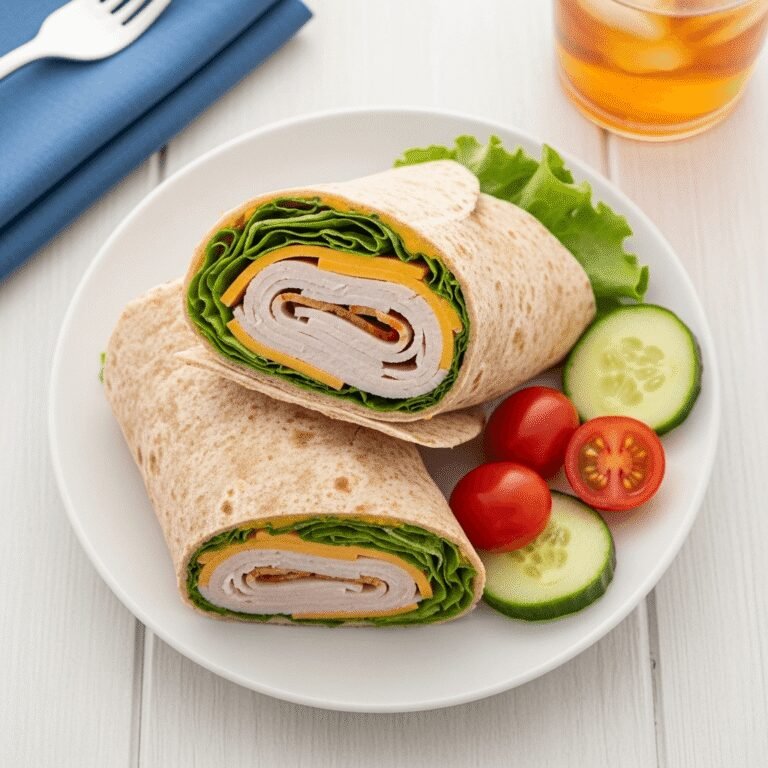
For One Turkey Wrap:
- 1 large flour tortilla (10-12 inches)
- 4-6 slices deli turkey (about 4 ounces)
- 2 slices cheese (cheddar, Swiss, provolone, or your choice)
- 2-3 large lettuce leaves (romaine or iceberg)
- 3-4 tomato slices
- 2-3 tablespoons mayonnaise, mustard, or your preferred spread
- Optional: 2 strips cooked bacon
- Optional: ¼ avocado, sliced
- Optional: 2-3 pickle slices
- Optional: thin red onion slices
- Optional: 2-3 tablespoons shredded carrots
Popular Spread Combinations:
- Classic: 2 tablespoons mayo + 1 tablespoon Dijon mustard
- Ranch: 2-3 tablespoons ranch dressing
- Healthy: 2-3 tablespoons hummus
- Spicy: 2 tablespoons mayo mixed with 1 teaspoon sriracha
- Tangy: 2 tablespoons cream cheese + 1 tablespoon honey mustard
Instructions
- Prep Your Ingredients: Start by gathering and preparing all your ingredients. If your tomatoes are particularly juicy, slice them and place on paper towels to drain excess moisture—this prevents soggy wraps. Wash and dry your lettuce thoroughly, patting with paper towels to remove all water. If using bacon, cook it until crispy and drain on paper towels. Having everything ready before you start assembling makes the process quick and smooth.
- Warm the Tortilla (Optional but Recommended): For the most pliable, easy-to-roll wrap that won’t crack, warm your tortilla slightly. You can do this several ways: microwave it wrapped in a damp paper towel for 15-20 seconds, heat it directly over a gas burner for 10-15 seconds per side, or warm it in a dry skillet over medium heat for about 20 seconds per side. Warm tortillas are significantly easier to roll without tearing. If you’re in a huge rush, you can skip this step, but warming really does help!
- Lay Out Your Tortilla: Place your tortilla flat on a clean cutting board or plate. Position it so you’ll be rolling from the bottom up—the side closest to you will be where you start rolling.
- Spread Your Condiments: Using a butter knife or spoon, spread your chosen condiment(s) across the center of the tortilla in a horizontal band, leaving about 2 inches clear on the left and right sides and about 1 inch clear at the top and bottom. This spread acts as a flavor base and helps other ingredients stick to the tortilla. Don’t spread condiments all the way to the edges or they’ll squeeze out when you roll. If using multiple spreads (like mayo and mustard), you can spread them together or in layers.
- Layer the Lettuce: Place your lettuce leaves on top of the spread in the center of the tortilla. The lettuce acts as a protective barrier between the tortilla and wetter ingredients like tomatoes, helping prevent sogginess—especially important if you’re making these ahead for meal prep. Arrange the lettuce in a horizontal line across the middle, covering the area where your other fillings will go.
- Add the Turkey: Layer your turkey slices on top of the lettuce. Don’t just stack them flat—fan them out or slightly fold them for better texture and distribution. You want even coverage across the center area, but remember not to overfill. Four to six slices (about 4 ounces) is the sweet spot—enough to be substantial but not so much that the wrap won’t close.
- Add the Cheese: Place your cheese slices over the turkey. If using sliced cheese, you might need to tear or fold the slices to fit nicely. The cheese will help bind everything together, especially if you decide to grill or toast the wrap. Position the cheese so it covers most of the turkey surface.
- Add Vegetables and Extras: Now add your tomato slices, arranging them in a line down the center. If using bacon, lay the strips on top of the cheese. Add any other extras you’re including—avocado slices, pickles, onions, carrots, cucumbers, or peppers. Remember, less is more when it comes to rolling—too many fillings make wraps impossible to roll and messy to eat.
- The Rolling Technique: Here’s the crucial step that makes or breaks your wrap! First, fold the left and right sides of the tortilla toward the center (about 1-2 inches on each side). These folded edges will act as barriers to keep fillings from falling out the ends. Next, starting from the bottom edge (the side closest to you), fold it up and over the fillings. Use your fingers to tuck the fillings in as you start the roll, keeping everything tight and compact. Continue rolling away from you, keeping tension so the wrap stays tight and compressed. Roll all the way to the top edge, creating a complete cylinder. The tighter you roll, the better the wrap will hold together.
- Secure and Slice: Once rolled, you can secure your wrap with a toothpick or simply keep the seam side down. For easier eating and a beautiful presentation, use a sharp serrated knife to cut the wrap in half diagonally. Cutting on a diagonal creates two pointed ends that look more appealing and are easier to eat. If you’re packing this for later, wrap it tightly in plastic wrap or parchment paper to keep it together and fresh.
- Optional: Grill or Toast: For a warm, crispy turkey wrap with melted cheese, heat a skillet or panini press over medium heat. Lightly brush the outside of your rolled wrap with olive oil or butter, or spray with cooking spray. Place the wrap seam-side down in the heated skillet and cook for 2-3 minutes per side, or until golden brown and the cheese is melted. If using a panini press, cook for 3-4 minutes total. This step is completely optional but transforms the wrap into something really special!
- Serve: Serve your wrap immediately, or wrap it tightly and refrigerate for up to 24 hours. These wraps are best enjoyed within a few hours of making for optimal texture and freshness.
Notes
- Don’t Overfill: The most common mistake is adding too much filling. Stick to the amounts listed—about 4 ounces of turkey, 2 slices of cheese, and modest amounts of vegetables. Overfilled wraps won’t roll properly and fall apart when eating.
- Dry Your Vegetables: Pat tomatoes, lettuce, and any other vegetables completely dry with paper towels. Excess moisture is the enemy of a good wrap and causes sogginess.
- Warm Your Tortilla: This 20-second step makes rolling dramatically easier and prevents cracking. Cold tortillas from the refrigerator are stiff and prone to tearing.
- Lettuce Barrier: Always put lettuce between the tortilla and wetter ingredients like tomatoes. This protective layer significantly reduces sogginess.
- Tight Rolling: Keep tension as you roll, tucking ingredients inward. A tight roll means ingredients won’t fall out and the wrap stays together.
- Make-Ahead: These wraps are fine for 4-6 hours when tightly wrapped and refrigerated. For longer storage, pack components separately and assemble when ready to eat.
- Scaling: To make multiple wraps for meal prep, set up an assembly line with all ingredients and make 4-5 at once. Takes about 15-20 minutes total.
- Prep Time: 5 minutes
- Cook Time: 0 minutes
- Category: Sandwich
- Method: No-Cook
- Cuisine: American
- Diet: Gluten Free
Nutrition
- Serving Size: 1 wrap
- Calories: 420
- Sugar: 4g
- Sodium: 1180mg
- Fat: 18g
- Saturated Fat: 7g
- Unsaturated Fat: 10g
- Trans Fat: 0g
- Carbohydrates: 38g
- Fiber: 3g
- Protein: 28g
- Cholesterol: 65mg